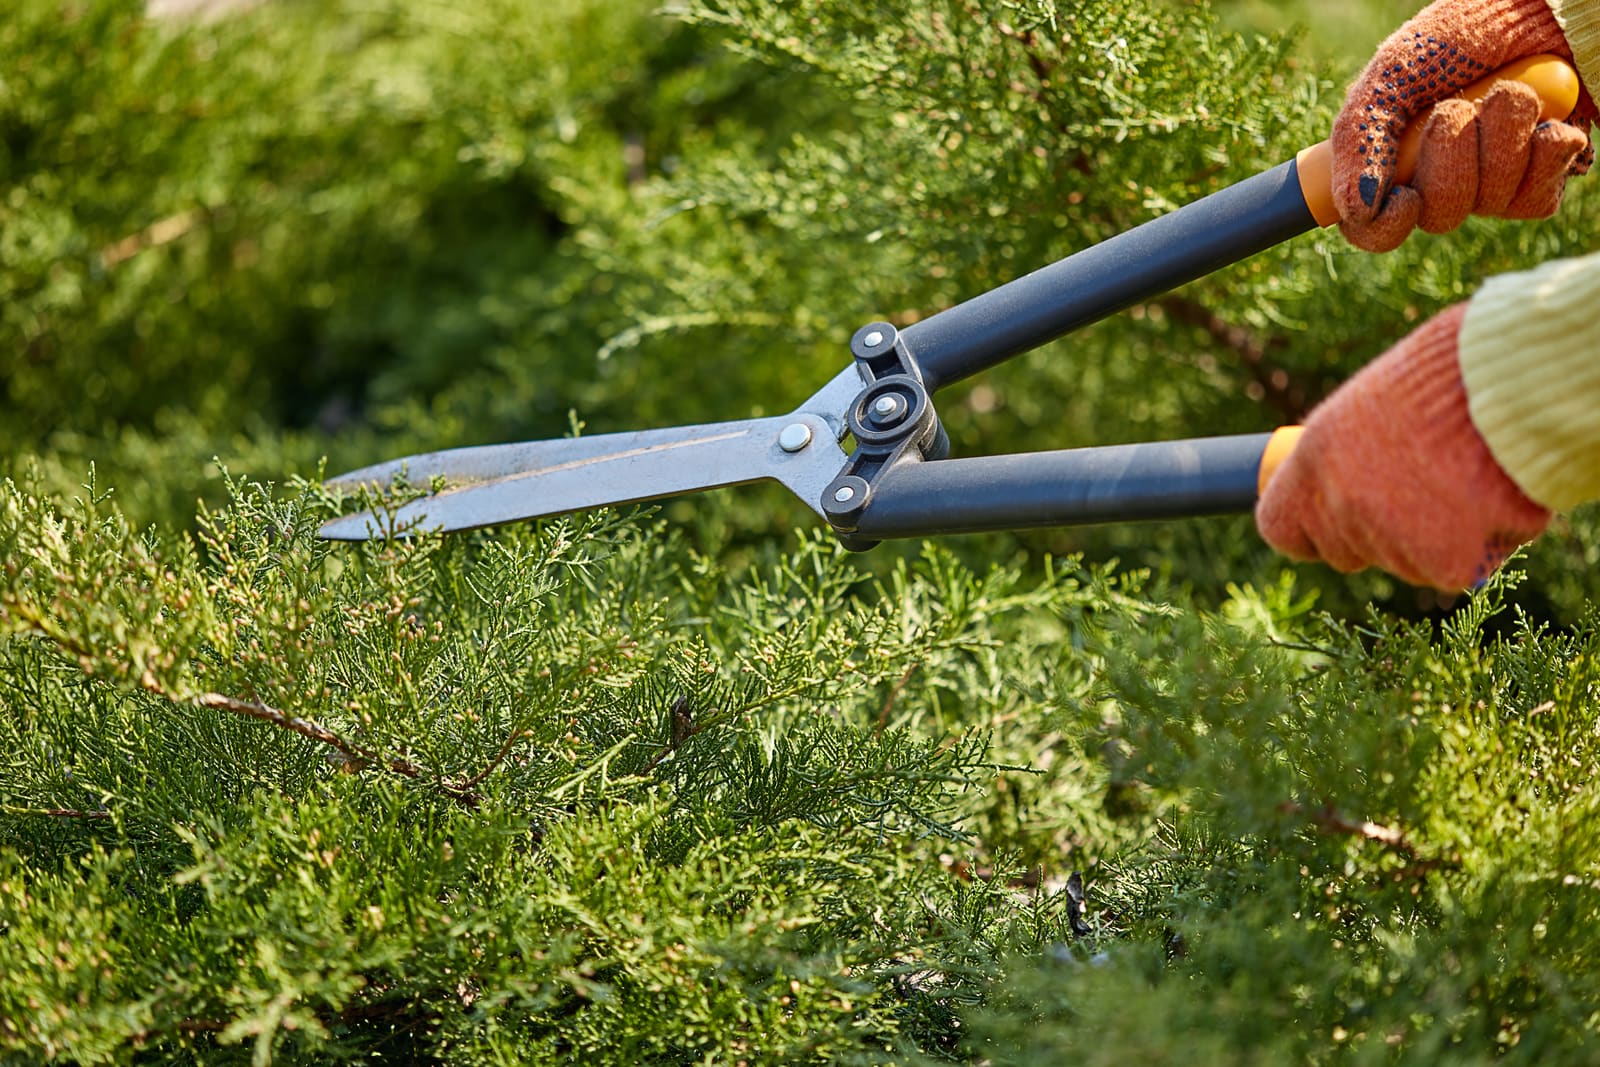
📌 Key Takeaway: Before and after photos for landscaping jobs work best when they are consistent, clearly framed, and tied to the exact service the customer hired you to perform.
Before and after photos for landscaping jobs do more than make a website look better. They prove the quality of your work, reduce confusion about what was completed, and give prospects a fast way to judge your standards. A strong photo set can show cleanup, edging, bed definition, trimming, treatment results, and overall property transformation in a few seconds. A weak photo set does the opposite. If the angle changes, the lighting shifts too much, or the crew forgets to capture the real problem area, the result looks sloppy even when the work was excellent. Good photo habits turn completed jobs into sales and service records. That is why every landscaping company should treat before-and-after photography as part of the job, not an extra task someone remembers only when convenient.
What good before and after photos actually need to show
The best before and after photos are not dramatic by accident. They are useful because they answer the homeowner's unspoken question: what changed on this property because your crew was here? That means the photo needs to show the work area, the condition before service, and the specific improvement after service.
For mowing and maintenance work, the obvious visual markers are clean striping, crisp edging, trimmed lines around walkways, and a finished look around trees, beds, and fences. For cleanup work, the contrast comes from debris removal, cutback, leaf reduction, and restored visibility around landscape features. For treatment work, the photo should document the starting condition clearly, even if the full result develops later. In those cases, the "before" image matters as much as the follow-up image because it records the original issue.
Strong landscaping photos also isolate the service result. If the crew cleaned up a front bed, the image should center the bed. If they restored overgrown borders, the frame should capture those borders. Wide property shots can be impressive, but they often hide the reason the customer hired you in the first place. The point is not to take a beautiful picture in general. The point is to show completed work in a way that makes the value obvious.
That standard helps both marketing and operations. Prospects understand your quality faster, and existing customers see exactly what your team finished at the property.
How to take before and after photos for landscaping jobs that match
Consistency is what separates usable documentation from random phone pictures. If the before shot is taken from one corner of the yard and the after shot is taken from another, the comparison loses credibility. People notice that immediately. Matching photos start with a repeatable process.
Choose a standing position and keep it. Use fixed reference points such as the edge of a driveway, the corner of a porch, a mailbox, or a walkway seam. Hold the phone at about the same height for both shots. Keep the same orientation too. If the before image is horizontal and the after image is vertical, the comparison feels disjointed. The less the viewer has to work to understand the change, the stronger the image pair becomes.
Framing matters just as much. Include the main problem area and enough surrounding context to make the improvement meaningful. Too tight, and the image lacks context. Too wide, and the result gets lost. Crews should look for a balanced frame that captures both the defect and the corrected condition. On a lawn, that might mean including the edge where grass met the sidewalk poorly before service and cleanly after service. In a shrub area, it might mean capturing shape, spacing, and visibility once trimming is complete.
Lighting should stay as close as possible between shots. If the crew takes the before image in shade and the after image in bright glare, the property can look like a different place. You do not need perfect photography conditions. You need similar conditions. When possible, take the before photo as the crew arrives and the after photo as the final step before leaving. That keeps the comparison honest and practical.
Clean lens, uncluttered frame, and stable hands all help. So does a simple internal rule: do not photograph trucks, tools, or crew members unless they help explain the work. Most of the time, the property should be the focus. A blower on the lawn or an open trailer in the corner weakens the finished impression.
Once your team follows the same method on every property, before and after photos stop being hit or miss. They become a reliable part of your service workflow.
Where crews usually go wrong with landscaping photo documentation
Most bad photo sets fail in predictable ways. The first mistake is forgetting to capture the real "before." Crews arrive, unload, begin cutting or trimming, and then remember the photo after the obvious mess is already gone. At that point, the chance to document the true starting condition has passed. The solution is simple: before the first mower unloads or the first branch is cut, someone takes the photo.
The next common mistake is choosing flattering angles instead of truthful ones. A crew may avoid the roughest area because it looks messy in the image. That defeats the purpose. The roughest area is often exactly what proves the value of the work. Good documentation is clear and honest. If there was heavy overgrowth at the gate, dead material in the beds, or poor definition at the curb, photograph it directly.
Another mistake is using only one wide after shot for everything. Landscaping work often includes multiple visible improvements across a property. If the job involved the front lawn, side bed, and entry walk, document each area. One photo pair rarely tells the whole story. You do not need endless images, but you do need enough coverage to show the actual scope completed.
Editing can also undermine trust. Basic cropping, straightening, and brightness correction are fine if they keep the scene accurate. Heavy filters, color shifts, and overprocessed contrast are not. If the grass looks unnaturally bright or shadows hide unfinished areas, the image starts to feel promotional instead of factual. Homeowners and prospects can sense that.
Storage and labeling are another operational weakness. Photos lose value when they sit in a technician's camera roll with no customer name, no service date, and no tie to the completed visit. Organized companies make photos retrievable. They connect the image to the property, the service type, and the visit record. That is one reason complete lawn service management software matters. When visit records, routing, and customer history live in one system, crews are more likely to capture photos consistently and office staff can actually use them later.
The goal is not simply to take pictures. The goal is to create proof that can be found, reviewed, and reused when needed.
Using before and after photos in sales, service, and daily operations
Most landscaping companies think of before and after photos as marketing content first. They are valuable there, but their operational value is just as important. A photo can settle questions about what was done on site. It can support a service note. It can show a property condition before a cleanup or document areas that were blocked, overgrown, or inaccessible when the crew arrived.
That helps with customer communication. When a homeowner is away, a strong after photo confirms that the work was completed and shows the result without requiring a phone call. When expectations need clarification, the original before image can be just as useful. It shows the condition your crew inherited and frames the scope of what was addressed during that visit.
Photos also improve estimating and follow-up work. Reviewing prior images before returning to a property gives the crew a visual baseline. The estimator can see bed lines, turf condition, hedge size, and recurring trouble spots without relying only on memory. Over time, this creates a more accurate service history.
On the sales side, the strongest use is selective, not overwhelming. A small set of clean, relevant images beats a gallery full of random property shots. Group photos by service type so prospects can see the kind of work they need. Someone looking for cleanup work wants to see overgrowth restored to order. Someone comparing mowing providers wants to see finish quality and consistency. The clearer the match between the prospect's need and the photo set, the stronger the credibility.
This is also where a customer portal and visit reports become useful. When photos are attached to the visit record and visible in a professional format, they stop feeling like loose attachments sent from a technician's phone. They become part of the service experience. That is a better reflection of a company that runs organized routes, tracks work carefully, and follows through.
Build a photo process your crew will actually follow
A photo standard only works if it is simple enough to use on busy route days. Crews do not ignore photo policies because they dislike documentation. They ignore them when the process is vague, slow, or easy to forget. The fix is to make the routine obvious.
Start by deciding which jobs always require before and after photos. Cleanup work, mulch refreshes, trimming, hedge work, first visits, complaint follow-ups, and any property with visible condition issues are strong candidates. You can also set a rule for recurring maintenance accounts where crews capture images on selected visits to document overall condition and service quality.
Next, define exactly what the crew must capture. Give clear instructions: take the before photo before any work begins, use the same angle for the after photo, include the main work area, and avoid blocking the frame with equipment. A short checklist works better than a long manual. The process should fit real field conditions.
Then assign responsibility. If everyone is responsible, no one is responsible. One crew lead or designated technician should own the photo step for each stop. That keeps the task from being skipped when the team is moving fast.
Technology should support the process, not complicate it. A mobile app tied to customer records, visit reports, routing, and billing makes the habit easier to maintain. When a crew can pull up the stop, complete the visit, attach photos, and move on, compliance improves. When they have to save images separately and text them later, the process breaks down. That is why complete lawn service management software matters here. The operational tools around the photo are what make photo documentation dependable.
Finally, review the results. Not every image needs office review, but spot-checking helps reinforce standards. If after photos routinely miss the target area or come in from inconsistent angles, correct the process early. A small adjustment in the field can turn average documentation into a strong sales and service asset.
Frequently Asked Questions
How many before and after photos should a landscaping crew take on one job?
Take enough to show the completed scope clearly. A small maintenance stop may only need one matched pair. A larger job with several visible work areas should have a photo pair for each major area. The standard is clarity, not volume.
Should before and after photos for landscaping jobs be edited?
Only lightly. Cropping, straightening, and small exposure corrections are fine if they keep the image accurate. Avoid heavy filters or anything that changes the true appearance of the lawn, beds, shrubs, or cleanup result.
What services benefit most from before and after photos?
Cleanup work, hedge trimming, bed restoration, edging, overgrowth removal, seasonal work, and first-visit condition documentation benefit the most because the visual difference is easy to see. Routine mowing can benefit too when the photos highlight finish quality and detail.
How do you keep crews consistent with jobsite photos?
Use a simple rule set, assign one person to capture photos, and build the step into the visit workflow. When photos are tied to the customer record, visit report, routing, and statement history inside complete lawn service management software, the process is easier to repeat consistently.